How to Record a Great Self-Tape Audition at Home
Casting Calls UK
Contributor
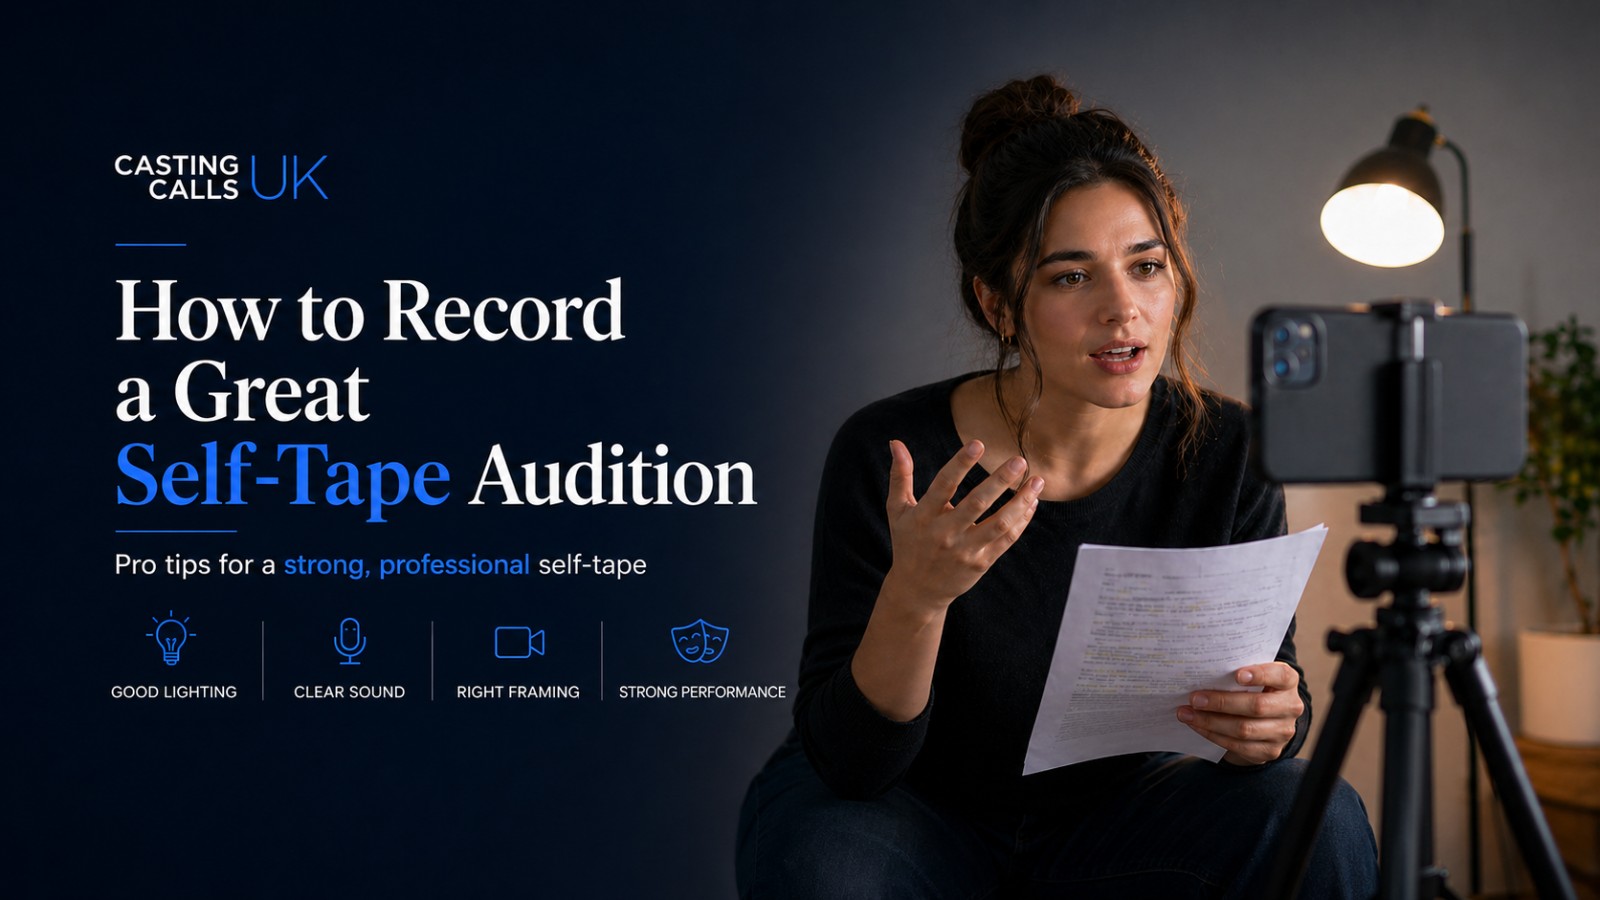
How to Record a Great Self-Tape Audition at Home
A strong self-tape does not need expensive equipment. With good lighting, clear sound, simple framing, and truthful acting, you can record a professional-looking audition from home that gives casting teams exactly what they need.
Your self-tape is your audition room
A self-tape is more than just a video. It is your chance to show casting professionals your face, voice, instincts, choices, personality, and ability to follow direction — all before you ever step into a room.
The best self-tapes are not flashy. They are clear, focused, well-lit, easy to hear, and centred on the performance.
Fast setup
- Film in landscape unless told otherwise
- Use soft light facing your face
- Keep the background clean and plain
- Record clear sound
- Frame from chest or shoulders up
- Read with someone off-camera
What is a self-tape?
A self-tape is a recorded audition that you film yourself and send to a casting team, production company, agent, director, or project creator. Instead of attending an audition in person, you perform the scene on camera and submit the video online.
Self-tapes are now a normal part of the acting industry. They are used for film, television, commercials, theatre, voice-over, student films, short films, online content, and independent productions.
The good news is that you do not need a full studio. You need a quiet space, decent light, a stable camera, clear audio, and a performance that feels real.
Your self-tape should never distract from your acting. Everything — the lighting, framing, sound, background, and file quality — should help casting focus on you.
“A great self-tape is not about making a mini film. It is about giving casting a clean, honest, watchable audition where your performance leads.”
Why your self-tape matters
Your self-tape may be the first time a casting professional sees you perform. That means it needs to show more than just the lines. It needs to show that you understand the scene, listen naturally, make strong choices, and can work on camera.
A good self-tape helps casting see:
- Your screen presence
- Your voice and delivery
- Your emotional truth
- Your understanding of the character
- Your ability to listen and react
- Your professionalism and preparation
A messy tape with bad sound, poor lighting, or a distracting setup can make it harder for casting to judge the thing that actually matters — your performance.
What makes a good self-tape?
Clear image
Your face should be easy to see, sharp, and well-lit.
Clean sound
Casting needs to hear every word without background noise.
Simple background
The focus should be on you, not the room behind you.
Strong framing
Usually chest-up or shoulders-up, with your eyes clearly visible.
Good reader
Your reader should support you without overpowering the scene.
Truthful acting
The setup matters, but the performance matters most.
Read the instructions properly
Before you record anything, read the casting instructions carefully. This sounds obvious, but it is one of the biggest places people lose marks before they have even started acting.
Check for:
- Whether they want landscape or portrait
- Whether they ask for a full body slate
- Whether they want a specific file name
- Whether you need to include your name, height, location, or agent
- Whether they ask for one take or multiple scenes
- Whether there is a deadline
- Whether accents, props, or costume are mentioned
If they give instructions, follow them exactly. Casting teams notice when an actor is easy to work with before they even meet them.
Prepare the scene before filming
A self-tape is still an audition. Do not just read the lines and hope for the best. Give yourself time to understand what is happening in the scene.
Ask yourself:
- Who am I speaking to?
- What do I want from them?
- What has just happened before the scene starts?
- What changes during the scene?
- What am I trying not to say?
- Where is the pressure?
The strongest self-tapes usually have clear intention. The actor knows what they want, listens to the other person, and allows the scene to move.
Choose a quiet, simple filming space
Your filming space does not need to look fancy. In fact, simple is usually better. Casting wants to watch your face and performance, not judge your wallpaper.
Good spaces
- A quiet bedroom
- A plain wall
- A tidy living room corner
- A neutral curtain or backdrop
- A simple office space
Avoid
- Messy rooms
- Busy backgrounds
- Windows behind you
- Loud kitchens
- Echoey bathrooms
Turn off televisions, radios, fans, washing machines, loud notifications, and anything else that might interrupt the take. If there is a dog, child, neighbour, or delivery driver waiting for their big break, try to record when things are calmer.
Use soft light on your face
Good lighting makes your tape easier to watch. The aim is not to look glossy or over-produced. The aim is simply for casting to see your face clearly.
Natural daylight from a window works brilliantly. Stand facing the window, with the camera between you and the light if possible.
Best lighting
- Soft window light
- A ring light placed gently in front
- Bright but cloudy daylight
- Light that shows both eyes clearly
Avoid
- Light behind your head
- Harsh shadows across your face
- Yellow ceiling lights
- Very dark rooms
- Coloured LED lighting
If one side of your face is too dark, move closer to the window or add a soft lamp from the front. Avoid putting a bright lamp directly under your face unless the role is “ghost story by torchlight”.
Set your camera at eye level
Your phone camera is usually enough. The important thing is that it is stable, level, and not being held in your hand while you act.
Use:
- A tripod
- A phone stand
- A stack of books
- A shelf
- A laptop stand
The camera should be around eye level. Too low can be unflattering. Too high can look unnatural. Keep it simple, stable, and straight.
Landscape is still the safest standard for most acting self-tapes unless the casting instructions specifically ask for portrait. Always follow the instructions given.
Frame yourself properly
For most self-tapes, a chest-up or shoulders-up frame works best. Your face should be the focus, with enough space to see your expression and body language.
A good frame usually includes:
- Your head
- Your shoulders
- Your upper chest
- A little space above your head
- Your eyes clearly visible
Do not stand too far away unless the instructions ask for a full body shot. Casting should not have to squint to read your face.
For emotional scenes, the camera can be slightly closer. For physical comedy or movement, you may need a wider frame. Let the scene guide the setup, but keep it clean.
Get the sound right
Bad sound can ruin a good self-tape. If casting cannot hear the lines, they cannot properly judge the performance.
Before recording, check:
- Your phone is close enough to hear you
- The room is quiet
- Your reader is not louder than you
- There is no echo
- Notifications are switched off
- There is no background music or television sound
Record ten seconds before the real take. Play it back. If you cannot hear every word clearly, fix the sound before filming the full scene.
Use a good reader
A reader is the person reading the other lines off-camera. They do not need to act like they are chasing an Oscar. They need to give you enough energy to respond naturally.
A good reader should
- Read clearly
- Stay off-camera
- Give you something to listen to
- Keep their volume lower than yours
- Not rush the scene
A reader should not
- Overact
- Shout over you
- Laugh during the take
- Correct you mid-scene
- Stand too far away
Your eyeline should usually be close to the camera but not directly down the lens, unless the scene requires it. Place your reader slightly to one side of the camera so your face remains open to the viewer.
Record a clean slate if requested
A slate is a short introduction where you may be asked to say your name, height, location, agency, role, or anything else the casting team needs.
A simple slate might include:
- Your name
- Your location
- Your height
- Your playing age, if requested
- Your agent, if relevant
- A full body shot, if requested
Keep it friendly, clear, and natural. Do not perform your slate like a game show host unless the brief specifically asks for that energy.
Some casting teams want the slate at the start. Others want it at the end. Some do not want one at all. Always follow the brief.
Focus on the acting, not the setup
Once your setup is ready, forget the equipment. The point of a self-tape is still the performance.
Strong self-tape acting usually has:
- A clear objective
- Real listening
- Specific reactions
- Emotional truth
- Stillness when needed
- Natural pace
- A sense of what just happened before the scene
Do not feel the need to add loads of movement. Camera acting often works best when it is simple and truthful. Let the thoughts land. Let the other person affect you. Let the camera see you thinking.
The best self-tapes often feel like we have caught a real moment, not watched someone announce, “Hello, I am now acting.”
Do a few takes, but do not overcook it
Record more than one take. Your first take may be stiff, your second may settle, and your third might be the one where something real happens.
But be careful. After too many takes, you can start chasing perfection and lose the natural energy of the scene.
A good method is:
- Do one practice take.
- Watch it back for framing, light, and sound.
- Fix any technical problems.
- Record two or three proper takes.
- Choose the one that feels most alive and truthful.
Pick the take where you are listening, connected, and believable. A truthful performance beats a polished but empty one.
Keep editing simple
Your self-tape does not need dramatic music, transitions, filters, cinematic colour grading, subtitles, or opening credits. This is not the moment to launch your director’s cut.
Basic editing is fine:
- Trim the start and end
- Join scenes if requested
- Add a slate if requested
- Check the volume
- Export in a watchable file size
Avoid over-editing. The tape should feel professional, not distracting.
Name and send your file properly
File naming sounds boring, but it helps casting keep track of submissions. A clear filename makes life easier for everyone.
A good filename might be:
- YourName_Role_Project_SelfTape.mp4
- JaneSmith_Sarah_BlueRiver_SelfTape.mp4
- WayneDissington_DetectiveScene_SelfTape.mp4
Avoid file names like finalfinalnew2.mov, auditionthing.mp4, video1234.mp4, or thisoneisdefinitelytheone.mp4. We have all been there, but casting does not need to know the journey.
If you are uploading to Casting Calls UK, make sure the file or link works before submitting. If you are sending a link, check that permissions are open and the casting team can actually view it.
Common self-tape mistakes
Poor sound
If the viewer cannot hear you clearly, the performance suffers. Always do a sound test before recording the final take.
Standing too far away
If your face is tiny in the frame, casting cannot read your thoughts. Most scenes need a clean chest-up or shoulders-up frame.
Messy background
A pile of washing, an open wardrobe, or last night’s takeaway box can pull attention away from the scene. Keep it simple.
Overacting
Camera work often rewards truth, not volume. You do not need to prove you are acting by making every line enormous.
Looking directly into the lens by accident
Unless asked, place your reader just off-camera. Direct eye contact with the lens can feel strange if it is not intended.
Ignoring the brief
If the casting team asks for landscape, do landscape. If they ask for one scene only, send one scene. Following instructions is part of the audition.
Self-tape checklist before you send
Before submitting your tape, check:
- Have I followed the casting instructions?
- Is the video the right format?
- Can my face be clearly seen?
- Can every line be heard?
- Is the background clean and simple?
- Is my reader off-camera and not overpowering me?
- Have I trimmed the start and end?
- Is the filename clear?
- Does the link or upload work?
- Does this take feel truthful and connected?
A great self-tape is simple, clear, and truthful
You do not need a Hollywood setup to make a strong self-tape. You need preparation, clear sound, good light, simple framing, and acting that feels honest.
Casting teams are not watching to see if you own the most expensive camera. They are watching to see if you understand the scene, connect to the character, listen properly, and make them want to see more.
Keep the setup clean. Keep the performance alive. Keep the focus on the work.
And remember: your self-tape is not just a video file. It is your audition room, your first impression, and sometimes your ticket to the next stage.